
First Task: Create a Shared Folder and Assign Permission using the Provision Shared Folder Wizard
Double click on the Windows SBS Console on the desktop, click on Shared Folders and Website. On the Tasks pane Click on Add a new shared folder to start the Provision a Shared Folder Wizard.

In the Provision a Shared Folder Wizard, in Shared Folder Location page click on Browse and find the location of the folder, click on Next to continue.

In the NTFS Permission page, select Yes to change NTFS permissions. You may click on Add to select Users then grant them permission, click on OK when done, click on Next to continue.

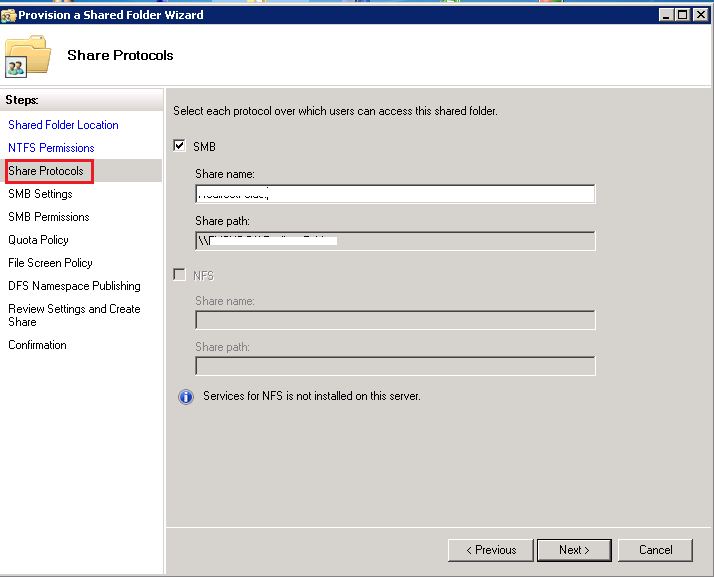
In the Share Protocols page, click on Next to continue.
In the Quota Policy page, click on Next continue.

In the File Screen Policy page, click on Next to continue.

In the DFS Namespace Publishing page, click on Next to continue.

In the Review Settings and Create Share page click next, Click on Create, click close and exit the Wizard.

Second Task: Redirect Folders for user Accounts to the Server
In the SBS Console’s Tasks pane, locate the User’s Account, (in this Tutorial I have created a testuser2 Account) then on the right pane choose Redirect folders for user accounts to the server.

In the Folder Redirection Properties page, select Folder Names and place the check marks on the folders you want to be redirected to the Server, click on OK.

In the Folder Redirection Properties page, select User Accounts to verify that testuser2 box is checked, click on OK.
 for folder redirection")
Third Task: Apply Folder Redirection to Organization Unit (OU) in GPO
In the Group Policy Management Editor page, locate the OU and choose edit Group Policy; Under User Configuration, go to User Configuration, click on Policies, click on Windows Settings, click on Folder redirection.
Right click on the Folder that you want it redirected to, in this Tutorial we’ll choose Document, under Setting choose Basic-Redirect everyone’s folder to the same location. In the Root Path, type the path, click on OK.

Fourth Task: From the SBS Server Edit the Registry
Click Start, in the Search box type Regedit and choose Run as administrator.
Navigate to HKLM\SOFTWARE\Microsoft\SmallBusinessServer\Storage, set the value of FRShareName to RedirectedFolders, and then set the value of FRRootPath to the full path of the shared folder (C:\Files-Backup).
Close Regedit.
Final Task: Log on and log off to the User’s computer where the folder redirection has been applied to for about 3 times and see if it works. Check the Server as well to see if the redirection folders have been successfully applied.
Each of the redirection folder should be automatically configured and synchronized to the server and be available offline. From the User’s Computer Click on Tools, choose Synchronize and make sure that the Offline Files box is checked.

This concludes the Folder Redirection Tutorial.

Uh, not sure how you did step 3…I have a Group Policy Management console which doesn’t show quite the same items as yours, and I have Local Group Policy Editor, which also doesn’t show the same things yours does. Are you missing a step, are you grabbing screen shots from SBS 2008, what’s going on?
Hi Pete and thanks for the feedback…
All the screen captures are correct and took I them from SBS 2011 Standard. I don’t think that I’ve missed out anything because before I publish any of my Tutorials I do all the hands-on and make sure that it works. 🙂